This guide walks you through what is required on your iOS app in order to perform a SubscriberCheck using tru.ID's (IDlayr) iOS SDK. However, if you wish to see the finished working example app, you can find it on our GitHub respository. It covers:
- What you need before you begin implementation
- Install tru.ID (IDlayr) iOS SDK
- How to implement into my app?
- Set up and run the iOS example application
- Performing a SubscriberCheck on iOS
1. Before You Begin
To fully understand the functionality required to create a SubscriberCheck in this guide, you will need to carry out some initial steps, such as creating an account, a project, and retrieving your workspace credentials. You'll also need to have an understanding of the workflow for a SubscriberCheck to be successfully carried out.
The first step is to Setup Your Environment. This page walks you through what parts are required, such as installing the IDlayr CLI, creating a project, and if needed, running the demo development server.
The second step is to gain more of an understanding of how the SubscriberCheck works. The Integration Guide provides a step by step guide on the workflow of a SubscriberCheck, and which devices need to act at what points of the workflow.
2. Install tru.ID (IDlayr) iOS SDK
The tru.ID (IDlayr) iOS SDK requires a minimum iOS version 12+.
Using Package Dependencies, the tru.ID (IDlayr) iOS SDK can be included with the following:
import PackageDescriptionlet package = Package(dependencies: [.Package(url: "https://github.com/tru-ID/tru-sdk-ios.git, majorVersion: 0, minor: 0)])
Or using cocoapods:
pod 'tru-sdk-ios', '~> x.y.z'
3. How to implement into my app?
Importing and Initializing the SDK
Before proceeding, be sure to sync your project for these new dependencies to be installed.
Import tru.ID (IDlayr) SDK
import TruSDK
Define an instance of the tru.ID (IDlayr) SDK:
let tru: TruSDK = TruSDK()
Reachability
The Reachability API is a feature that enables applications to check whether the SIM card within a user's device is on a network that IDlayr has connectivity to.
The Flutter SDK has functionality built in to call the reachability, to call this you would need to run the following code:
tru.isReachable { result in...}
If the mobile network operator is supported by IDlayr then a JSON object is returned similar to the example below:
{"network_id": "23410","network_name": "O2 UK","country_code": "GB","products": [{"product_id": "SCK","product_name": "SubscriberCheck"}]}
However, if it isn't supported, then an error is returned in JSON format.
Call your backend server to create SubscriberCheck
As described in the Integration guide step 1 is to create a SubscriberCheck. This step is a step where your mobile application needs to call your backend server with the mobile devices telephone number. Your backend server then makes a POST request to IDlayr's SubscriberCheck API. If successful, the SubscriberCheck API will return a response with the check_id and a unique check_url. Your backend server needs to return this check_url to the mobile device.
Open Check URL to process SubscriberCheck
Step 2 of the integration guide is to process the SubscriberCheck. This step is a step where the mobile application makes a GET request to the check_url provided in the previous step. The mobile device application then needs to follow all redirects, then on the last redirect, the JSON response will contain a code. This code will be used next.
tru.checkUrlWithResponseBody(url: url) { error, body in...}
Call Backend server to complete SubscriberCheck
Step 3 of the integration guide is to complete the SubscriberCheck. This step is a step where the mobile application makes a POST request to your backend server with the check_id and the code. Your backend server then makes a PATCH request to /subscriber_check/v0.2/checks/{check_id} with the JSON body below to complete the SubscriberCheck process:
[{"op": "add","path": "/code","value": "{check_code}"}]
Within the response of this PATCH request, there will be a field
no_sim_change, this is the field used to show if the SIM card has been
changed recently, which could be an indication whether the owner of the SIM
card may be a victim of SIM swap fraud. If the value is true, then proceed
with the SubscriberCheck.
Finally, your backend server would need to return a success or failure response to your mobile application to allow the user of this application to proceed.
4. Setup the iOS example application
Clone and configure the iOS example application
Open a new terminal and ensure you are in the tru-id-phonecheck-example working directory. Run the following command to clone the iOS example into a app-example-ios directory:
git clone [email protected]:tru-ID/app-example-ios.git
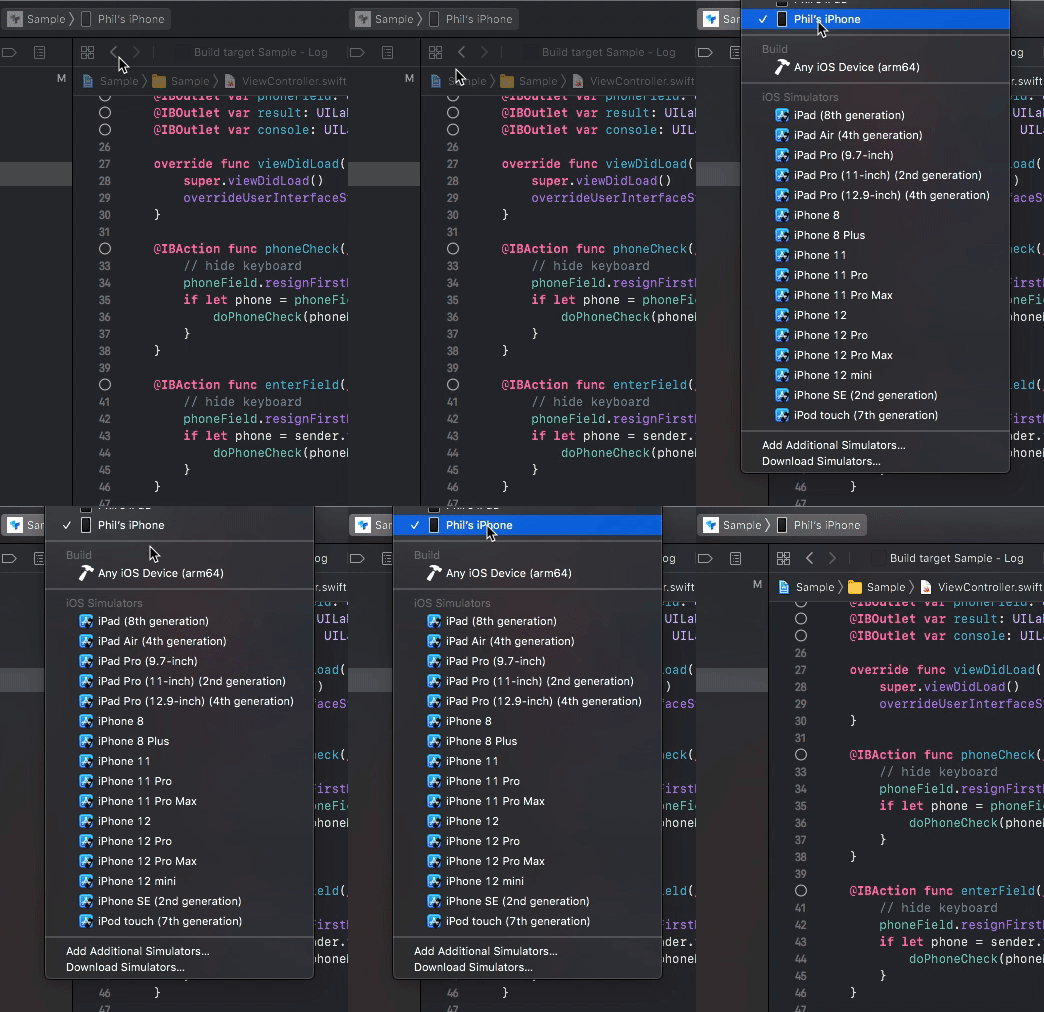
Ensure your iOS device is connected via USB. Launch XCode, open app-example-ios/Sample.xcodeproj and set your iOS device as your deployment target:

Open Sample.xcodeproj in XCode, activate the Build Settings tab and check the following:
- Ensure that
Signing -> Development Teamis set correctly - Update
User-Defined -> MY_APP_SERVER_URLto point to the ngrok URL of your running Node.js server
Install and run the iOS App
Select "Run" in XCode to install and run the application on your iOS device.
5. Perform a SubscriberCheck
Enter your phone number including the country code and click "Verify my phone number". The application will look similar to the following:
With that, you've completed your first IDlayr SubscriberCheck from an iOS application.


