

Before we begin, let's discuss why you would want to use IDlayr PhoneCheck in your onboarding workflows.
Between 20 and 30% of signup attempts fail on mobile due to incomplete authentication. This failure could be due to an SMS being delayed or not delivered, an email ending in spam or undelivered, a voice call failing, or the user making a mistake as they navigate the poor UX of a signup flow that uses current legacy authentication options. IDlayr PhoneCheck offers a new way to verify a user, reducing UX friction and improving onboarding conversion rates.
It works by confirming the ownership of a mobile phone number by verifying the possession of an active SIM card with the same number. A mobile data session is created to a unique Check URL for this verification. IDlayr then resolves a match between the phone number being verified and the phone number that the mobile network operator identifies as the owner of the mobile data session.

If you want to dive into the finished code for this tutorial, you can find it on Github.
Before you begin
Before you begin, you'll need the following:
- Android capable IDE (Android Studio recommended)
- An Android phone with a mobile data connection
- Node.js
Getting Started
Clone the starter-files branch via:
git clone -b starter-files https://github.com/tru-ID/passwordless-auth-android.git
npm install -g @tru_id/cli
tru login <YOUR_IDENTITY_PROVIDER> (this is one of google, github, or microsoft) using the Identity Provider you used when signing up. This command will open a new browser window and ask you to confirm your login. A successful login will show something similar to the below:Success. Tokens were written to /Users/user/.config/@tru_id/cli/config.json. You can now close the browser
config.json file contains some information you won't need to modify. This config file includes your Workspace Data Residency (EU, IN, US), your Workspace ID, and token information such as your scope.Create a new IDlayr project within the root directory with the following command:tru projects:create passwordless-auth-android --project-dir .
passwordless-auth-android directory and run the following command to clone the dev-server:git clone [email protected]:tru-ID/dev-server.git
dev-server directory, run the following command to create a.env copy of .env.example:cp .env.example .env
.env file, update the values of TRU_ID_CLIENT_ID andTRU_ID_CLIENT_SECRET with your client_id and client_secret in yourtru.json file.dev-server to the Internet for your mobile application to access your backend server. For this tutorial, we're using ngrok, which we've included in the dev-server functionality. So to start with, uncomment the following and populate them with your ngrok credentials:NGROK_ENABLED=true#NGROK_SUBDOMAIN=a-subdomain # Uncommenting this is optional. It is only available if you have a paid ngrok account.NGROK_AUTHTOKEN=<YOUR_NGROK_AUTHTOKEN> # This is found in the ngrok dashboard: https://dashboard.ngrok.com/get-started/your-authtokenNGROK_REGION=eu # This is where your ngrok URL will be hosted. If you're using IDlayr's `eu` data residency; leave it as is. Otherwise, you could specify `in` or `us`.
dev-server directory, run the following two commands:npm install # Installs all third-party dependencies in package.jsonnpm run dev # Starts the server
Starting the project
Open the project up in your Android-capable IDE, connect your phone to your computer so it can be used for running the Android project, and run the application from your IDE.
The project should look like this:

The project's onboarding workflow includes four screens:
- splash,
- get started,
- sign up,
- signed up.
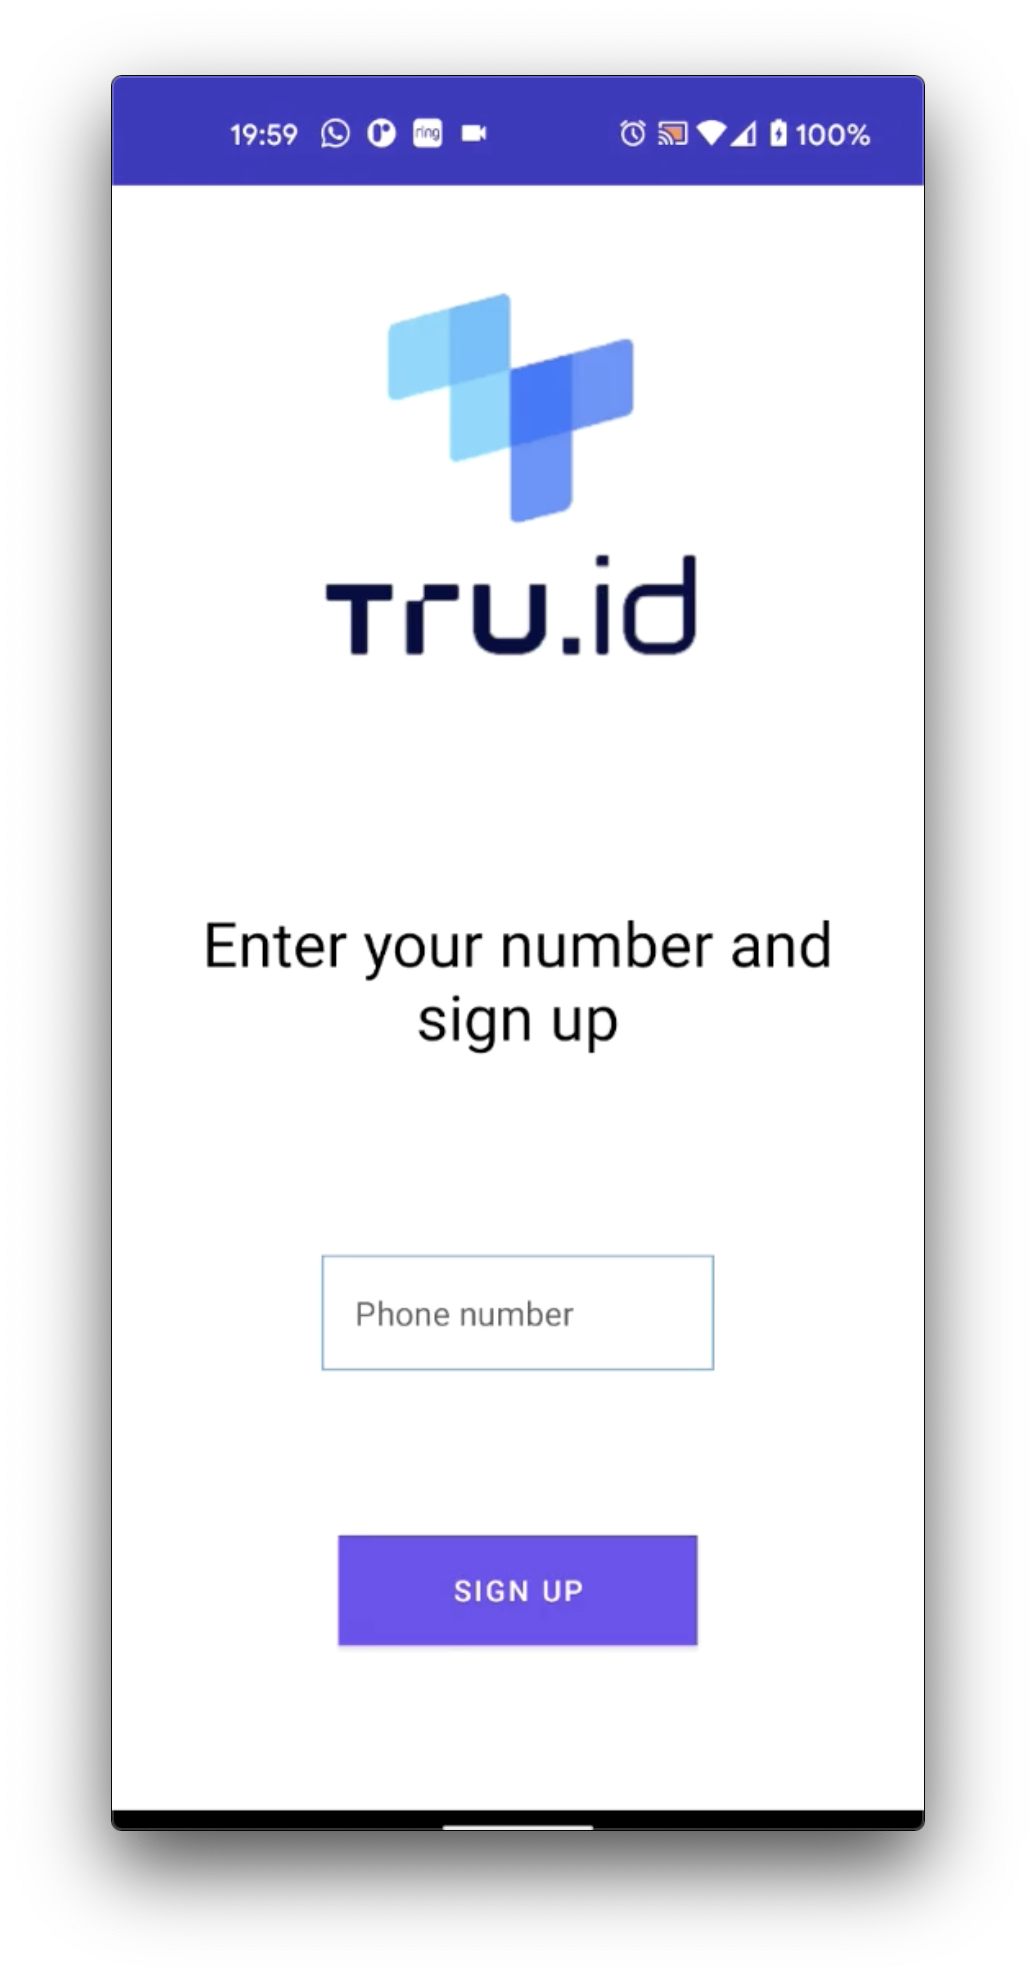
Click the Get Started button to navigate to the signupFragment UI. It looks like this:
Creating a PhoneCheck
The first step is to create the PhoneCheck. To do this, we need to send a POST request with the user's phone number to /phone-check.
We then get back a check_url and check_id which we will use for subsequent calls.
First, add the following dependencies for data fetching in app/build.gradle:
dependencies {// retrofit and converterimplementation 'com.squareup.retrofit2:retrofit:2.9.0'implementation 'com.squareup.retrofit2:converter-gson:2.9.0'}
Next, create a folder (package) in src/main/java/com/example/tru_phonecheck called api and within that create a subfolder (package) called data.
Within data, create a class called PhoneCheck.kt and add the following code:
package com.example.tru_phonecheck.api.dataimport com.google.gson.annotations.SerializedNamedata class PhoneCheck( @SerializedName("check_url")val check_url: String,@SerializedName("check_id")val check_id: String) {}data class PhoneCheckPost (@SerializedName("phone_number")val phone_number: String)
Here we have two data model classes: PhoneCheck, whose constructor accepts the values of the response, and PhoneCheckPost, whose constructor accepts the user's phone number.
We also use @SerializedName to ensure the values match the expected input/response.
Next, navigate to the api folder and create another folder (package) named retrofit. Within it, create an interface named RetrofitService and replace its contents with the following:
package com.example.tru_phonecheck.api.retrofitimport com.example.tru_phonecheck.api.data.PhoneCheckimport com.example.tru_phonecheck.api.data.PhoneCheckPostimport retrofit2.Responseimport retrofit2.http.*interface RetrofitService {@Headers("Content-Type: application/json")@POST("/v0.2/phone-check")suspend fun createPhoneCheck(@Body user: PhoneCheckPost): Response<PhoneCheck>companion object {// set up base_url in the format https://{subdomain}.{region}.ngrok.io gotten from ngrok URLconst val base_url = "https://{subdomain}.{region}.ngrok.io"}}
Here we use the model we created to make the POST request. We also create a companion object, which allows us to access base_url as an object (i.e., RetrofitService.base_url).
Remember to swap the placeholder URL in base_url with the ngrok URL.
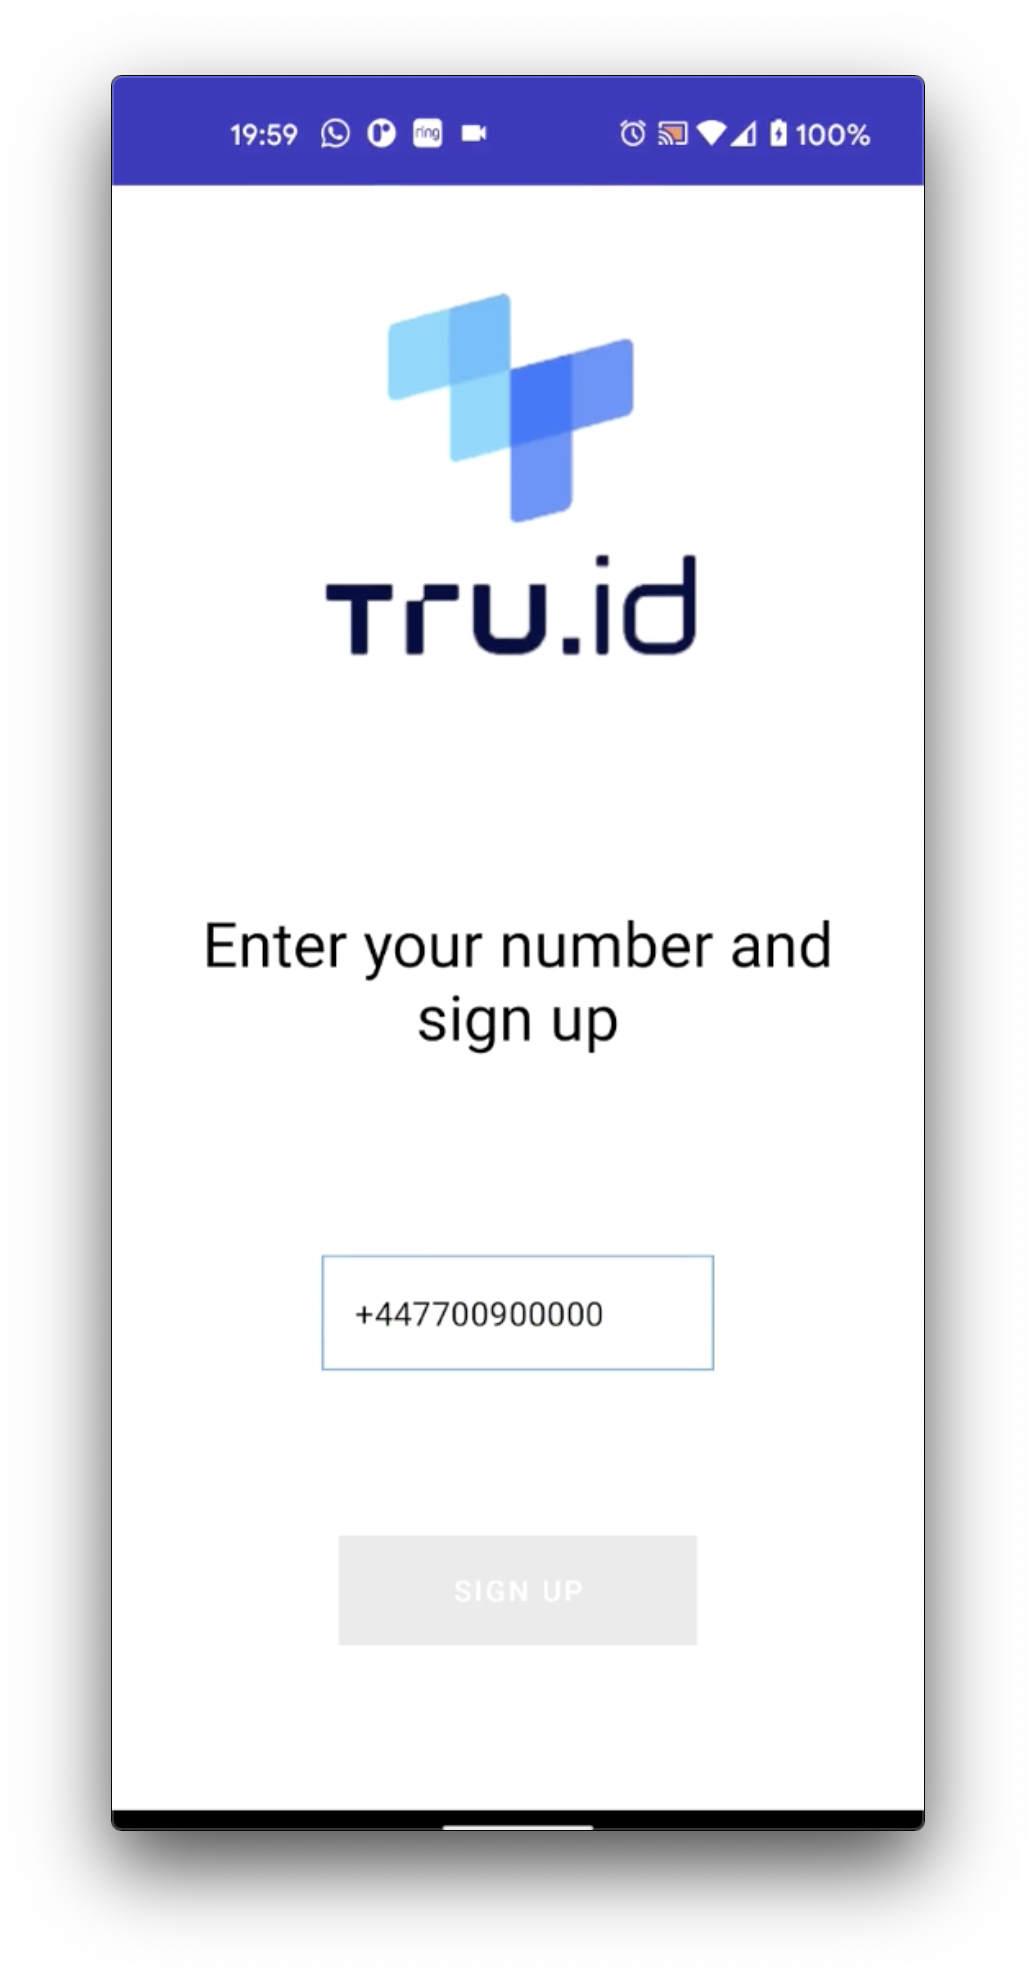
We need to grab the user's phone number when the user touches the button and initiate the POST request.
First, head over to src/main/java/com/example/tru_phonecheck/fragments/onboarding/screens/signupFragment.kt and add a function that disables the UI when the button is touched:
private fun setUIStatus (button: Button?, input: EditText, enabled: Boolean){activity?.runOnUiThread {button?.isClickable = enabledbutton?.isEnabled = enabledinput.isEnabled = enabled}}
Next, add the following to create the Retrofit service:
//retrofit setupprivate fun rf(): RetrofitService {return Retrofit.Builder().baseUrl(RetrofitService.base_url).addConverterFactory(GsonConverterFactory.create()).build().create(RetrofitService::class.java)}
Finally, add the following before return view in the onCreateView function:
...view.submitHandler.setOnClickListener {// get phone numberval phoneNumber = phoneNumberInput.text.toString()Log.d("phone number is", phoneNumber)// close virtual keyboardphoneNumberInput.onEditorAction(EditorInfo.IME_ACTION_DONE)// if it's a valid phone number begin createPhoneCheckif(!isPhoneNumberFormatValid(phoneNumber)) {Snackbar.make(container as View, "Invalid Phone Number", Snackbar.LENGTH_LONG).show()} else {println("valid number")// disable the UIsetUIStatus(submitHandler, phoneNumberInput, false)CoroutineScope(Dispatchers.IO).launch {try {val response = rf().createPhoneCheck(PhoneCheckPost(phoneNumber))if(response.isSuccessful && response.body() != null){val phoneCheck = response.body() as PhoneCheck// open checkURL// get PhoneCheck result}} catch(e: Throwable){Snackbar.make(container as View, e.message!!, Snackbar.LENGTH_SHORT).show()}// enable the UIsetUIStatus(submitHandler, phoneNumberInput, true)}}}
Here we attach a click listener to the button with the ID submitHandler. When the button is clicked, we grab the phone number and check if it is valid via a utility function located in src/main/java/com/example/tru_phonecheck/utils/PhoneNumberUtil.kt. If it is a valid number, we disable the UI via setUIStatus and make a network request to create the PhoneCheck using therf().createPhoneCheck function.
Opening the Check URL
The next stage is to open the Check URL returned to us. To do this, we need to use the tru.ID (IDlayr) Android SDK. The SDK forces the Check URL network request to go over the mobile data connection so that the mobile network operator and IDlayr can verify the phone number.
Head back to build.gradle and add the following dependency:
dependencies {...// tru.ID (IDlayr) Android packageimplementation 'id.tru.sdk:tru-sdk-android:1.0.0'}
Next, we need to initialize the SDK on startup. To do that, head over to MainActivity.kt and update it to the following:
package com.example.tru_phonecheckimport androidx.appcompat.app.AppCompatActivityimport android.os.Bundleimport id.tru.sdk.TruSDKclass MainActivity : AppCompatActivity() {override fun onCreate(savedInstanceState: Bundle?) {// initialize Tru SDKTruSDK.initializeSdk(applicationContext)super.onCreate(savedInstanceState)setContentView(R.layout.activity_main)supportActionBar?.hide()}}
Head back to SignupFragment.kt and add the following above onCreateView:
private val truSDK = TruSDK.getInstance()
Use the SDK to open the Check URL in the setOnClickListener function:
if (response.isSuccessful && response.body() != null) {val phoneCheck = response.body() as PhoneCheckval resp: JSONObject? = TruSDK.getInstance().openWithDataCellular(URL(phoneCheck.check_url), false)if (resp != null) {if (resp.optString("error") != "") {Snackbar.make(container as View, "Authentication Failed, Unexpected Error", Snackbar.LENGTH_LONG).show()} else {val status = resp.optInt("http_status")if (status == 200) {val body = resp.optJSONObject("response_body")if (body != null) {val code = body.optString("code")if (code != null) {val checkId = body.optString("check_id")val ref = body.optString("check_id")// TODO: Make a POST request to backend to validate check_id and code} else {val error = body.optString("error")val desc = body.optString("error_description")Snackbar.make(container as View,"Authentication Failed, $desc", Snackbar.LENGTH_LONG).show()}} else {// invalid response formatSnackbar.make(container as View, "Authentication Failed", Snackbar.LENGTH_LONG).show()}} else if (status == 400) {// MNO not supportedSnackbar.make(container as View, "Authentication Failed, MNO not supported", Snackbar.LENGTH_LONG).show()} else if (status == 412) {// MNO a mobile IPSnackbar.make(container as View, "Authentication Failed, Not a Mobile IP", Snackbar.LENGTH_LONG).show()} else {Snackbar.make(container as View, "Authentication Failed", Snackbar.LENGTH_LONG).show()}}}}
We have now successfully opened the Check URL.
Complete the PhoneCheck flow and get the result
The last thing we need to do is to make a POST request to the backend server, which will return the PhoneCheck response.
Head over to PhoneCheck.kt and add two new data classes called PhoneCheckComplete and PhoneCheckResponse:
data class PhoneCheckComplete (@SerializedName("check_id")val check_id: String,@SerializedName("code")val code: String)data class PhoneCheckResponse(@SerializedName("check_id")val check_id: String,@SerializedName("match")val match: Boolean)
We added two new models, PhoneCheckComplete and PhoneCheckResponse. The first contains two fields check_id and code which will be used to verify the PhoneCheck. The second model contains two fields: check_id and match. The latter is used to verify the phone number.
Next, head over to RetrofitService.kt and update the code support getting the PhoneCheck resource:
@POST("/v0.2/phone-check/exchange-code")suspend fun completePhoneCheck(@Body check_id: String, code: String): Response<PhoneCheckResponse>
Here we added a POST function to /v0.2/phone-check/exchange-code where we pass the object PhoneCheckComplete containing the values check_id and code.
We also map the model type PhoneCheckResponse to the Response object we're expecting.
Let's now head over to SignupFragment.kt and add the functionality to get the PhoneCheck result:
if(response.isSuccessful && response.body() != null){...// TODO: Make a POST request to backend to validate check_id and codeval response = rf().completePhoneCheck(PhoneCheckComplete(checkId, code))if (response.isSuccessful && response.body() != null) {val phoneCheckResponse = response.body() as PhoneCheckResponse// update UI with phoneCheckResponseif (phoneCheckResponse.match) {findNavController().navigate(R.id.action_signupFragment_to_signedUpFragment)} else {Snackbar.make(container as View, "Registration Failed", Snackbar.LENGTH_LONG).show()}}else {Snackbar.make(container as View, "An unexpected problem occurred", Snackbar.LENGTH_LONG).show()}}
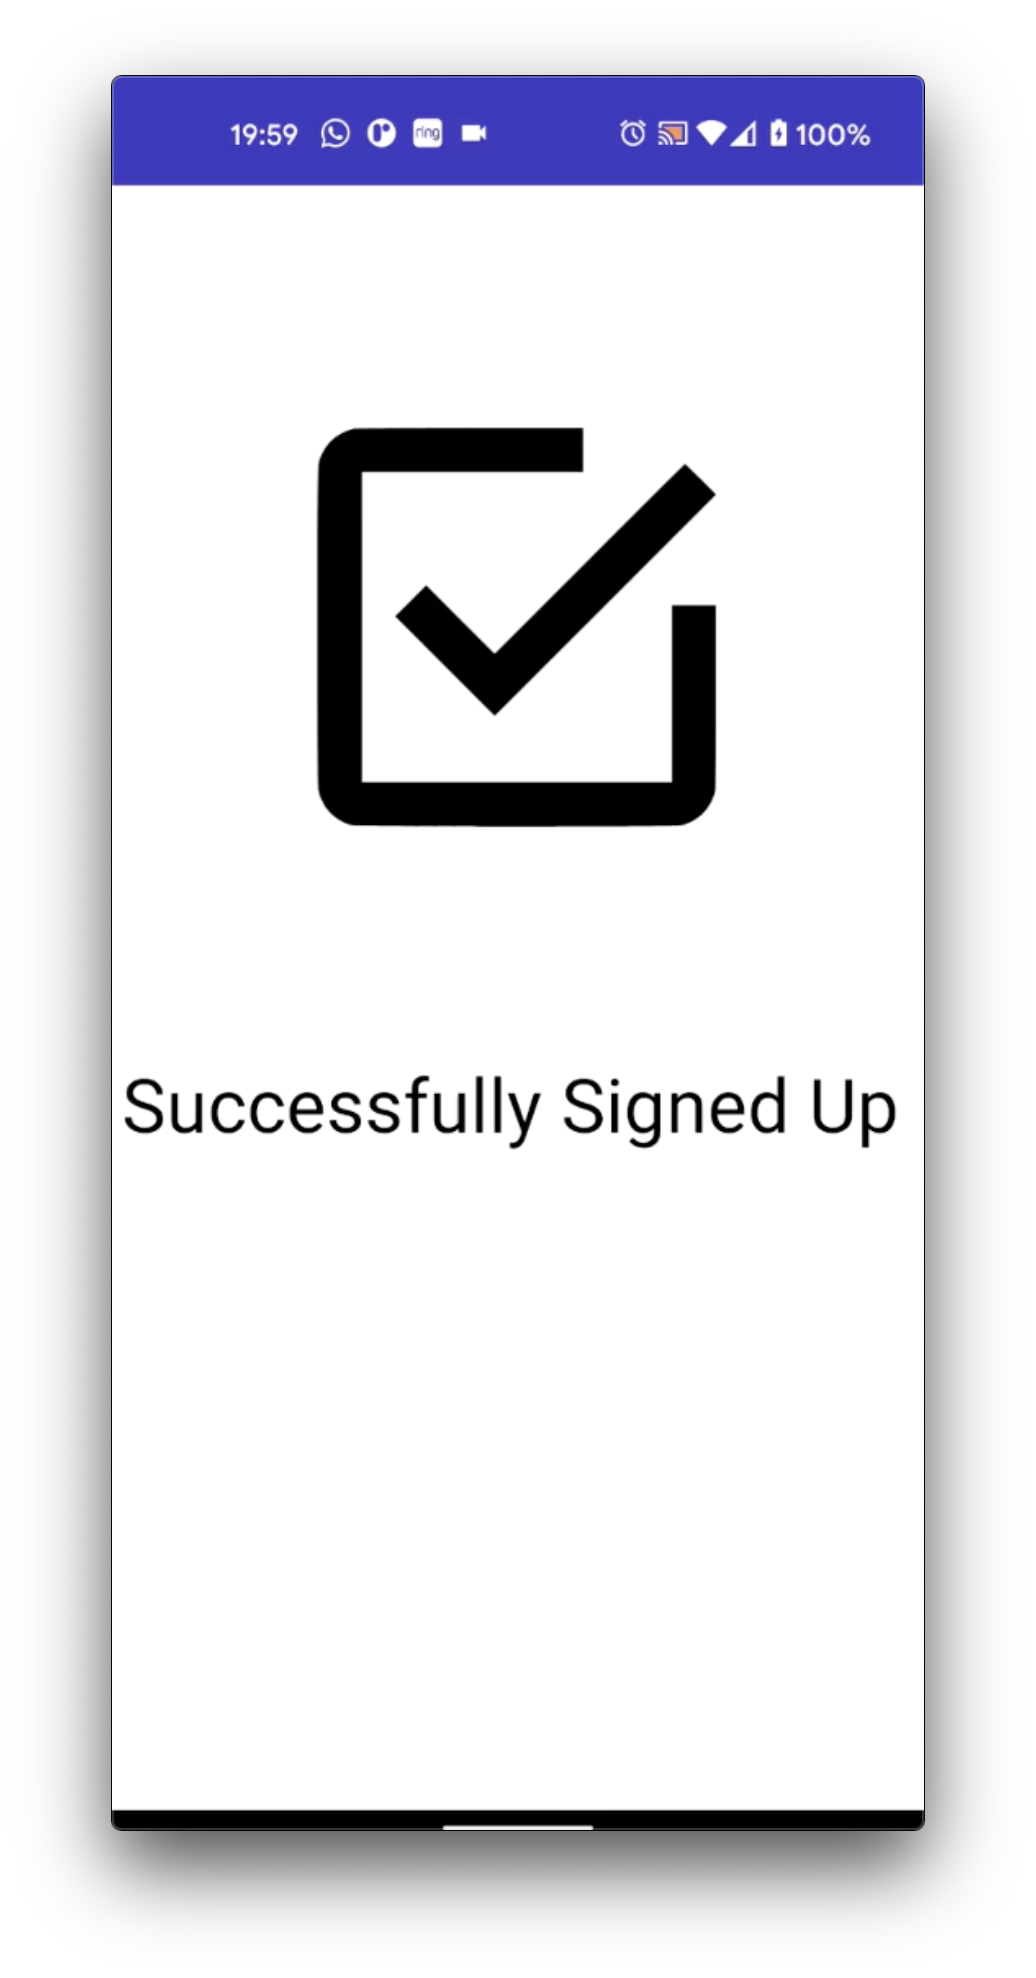
Finally, we get the result of the PhoneCheck using the phoneCheck.check_id we previously got with the PhoneCheck response. If the phone number has been verified, we navigate the user to the signedUpFragment view. If the verification failed (phoneCheckResponse.match is false) we render a "failure" toast.
The signedUpFragment UI looks as follows:
That's it!
Wrapping Up
With everything in place, we now have a seamless signup onboarding flow with minimal UX friction, resulting in no user drop-offs.
There you have it: you’ve successfully integrated IDlayr PhoneCheck into your Android onboarding workflow.

