

Supabase is a platform as a service (PaaS) that provides all the backend tools you need to build apps as quickly and safely as possible. This service includes an authentication product, which is the focus of this tutorial. The authentication product allows developers to easily add login and sign-up to their applications.
However, because email and passwords are insecure, it is critical to be able to validate the user using a possession factor (i.e., a verified mobile phone number). If the application cannot verify the phone number, the user may not be who they say they are. IDlayr's PhoneCheck helps resolve this problem.
The IDlayr PhoneCheck API confirms the ownership of a mobile phone number by confirming the presence of an active SIM card with the same number. A mobile data session is created with a request to a Check URL unique to this SIM card. IDlayr then resolves a match between the phone number entered by the user and the phone number that the mobile network operator (MNO) identifies as the owner of the mobile data session.
Before you begin
To follow along with this tutorial, you'll need:
- A IDlayr Account
- A Supabase Account
- A mobile phone with an active data SIM card
Getting started
In your terminal, clone the starter-files branch with the following command:
git clone -b starter-files https://github.com/tru-ID/supabase-passwordless-authentication.git
If you're only interested in the finished code in main, then run:
git clone -b main https://github.com/tru-ID/supabase-passwordless-authentication.git
npm install -g @tru_id/cli
tru login <YOUR_IDENTITY_PROVIDER> (this is one of google, github, or microsoft) using the Identity Provider you used when signing up. This command will open a new browser window and ask you to confirm your login. A successful login will show something similar to the below:Success. Tokens were written to /Users/user/.config/@tru_id/cli/config.json. You can now close the browser
config.json file contains some information you won't need to modify. This config file includes your Workspace Data Residency (EU, IN, US), your Workspace ID, and token information such as your scope.Create a new IDlayr project within the root directory with the following command:tru projects:create supabase-sim-swap-detection --project-dir .
supabase-sim-swap-detection directory and run the following command to clone the dev-server:git clone [email protected]:tru-ID/dev-server.git
dev-server directory, run the following command to create a.env copy of .env.example:cp .env.example .env
.env file, update the values of TRU_ID_CLIENT_ID andTRU_ID_CLIENT_SECRET with your client_id and client_secret in yourtru.json file.dev-server to the Internet for your mobile application to access your backend server. For this tutorial, we're using ngrok, which we've included in the dev-server functionality. So to start with, uncomment the following and populate them with your ngrok credentials:NGROK_ENABLED=true#NGROK_SUBDOMAIN=a-subdomain # Uncommenting this is optional. It is only available if you have a paid ngrok account.NGROK_AUTHTOKEN=<YOUR_NGROK_AUTHTOKEN> # This is found in the ngrok dashboard: https://dashboard.ngrok.com/get-started/your-authtokenNGROK_REGION=eu # This is where your ngrok URL will be hosted. If you're using IDlayr's `eu` data residency; leave it as is. Otherwise, you could specify `in` or `us`.
dev-server directory, run the following two commands:npm install # Installs all third-party dependencies in package.jsonnpm run dev # Starts the server
Setting up Supabase
As previously stated, a Supabase account is needed. So, if you haven't already, create a Supabase account.
Once logged in, you'll see an interface like the one shown below:
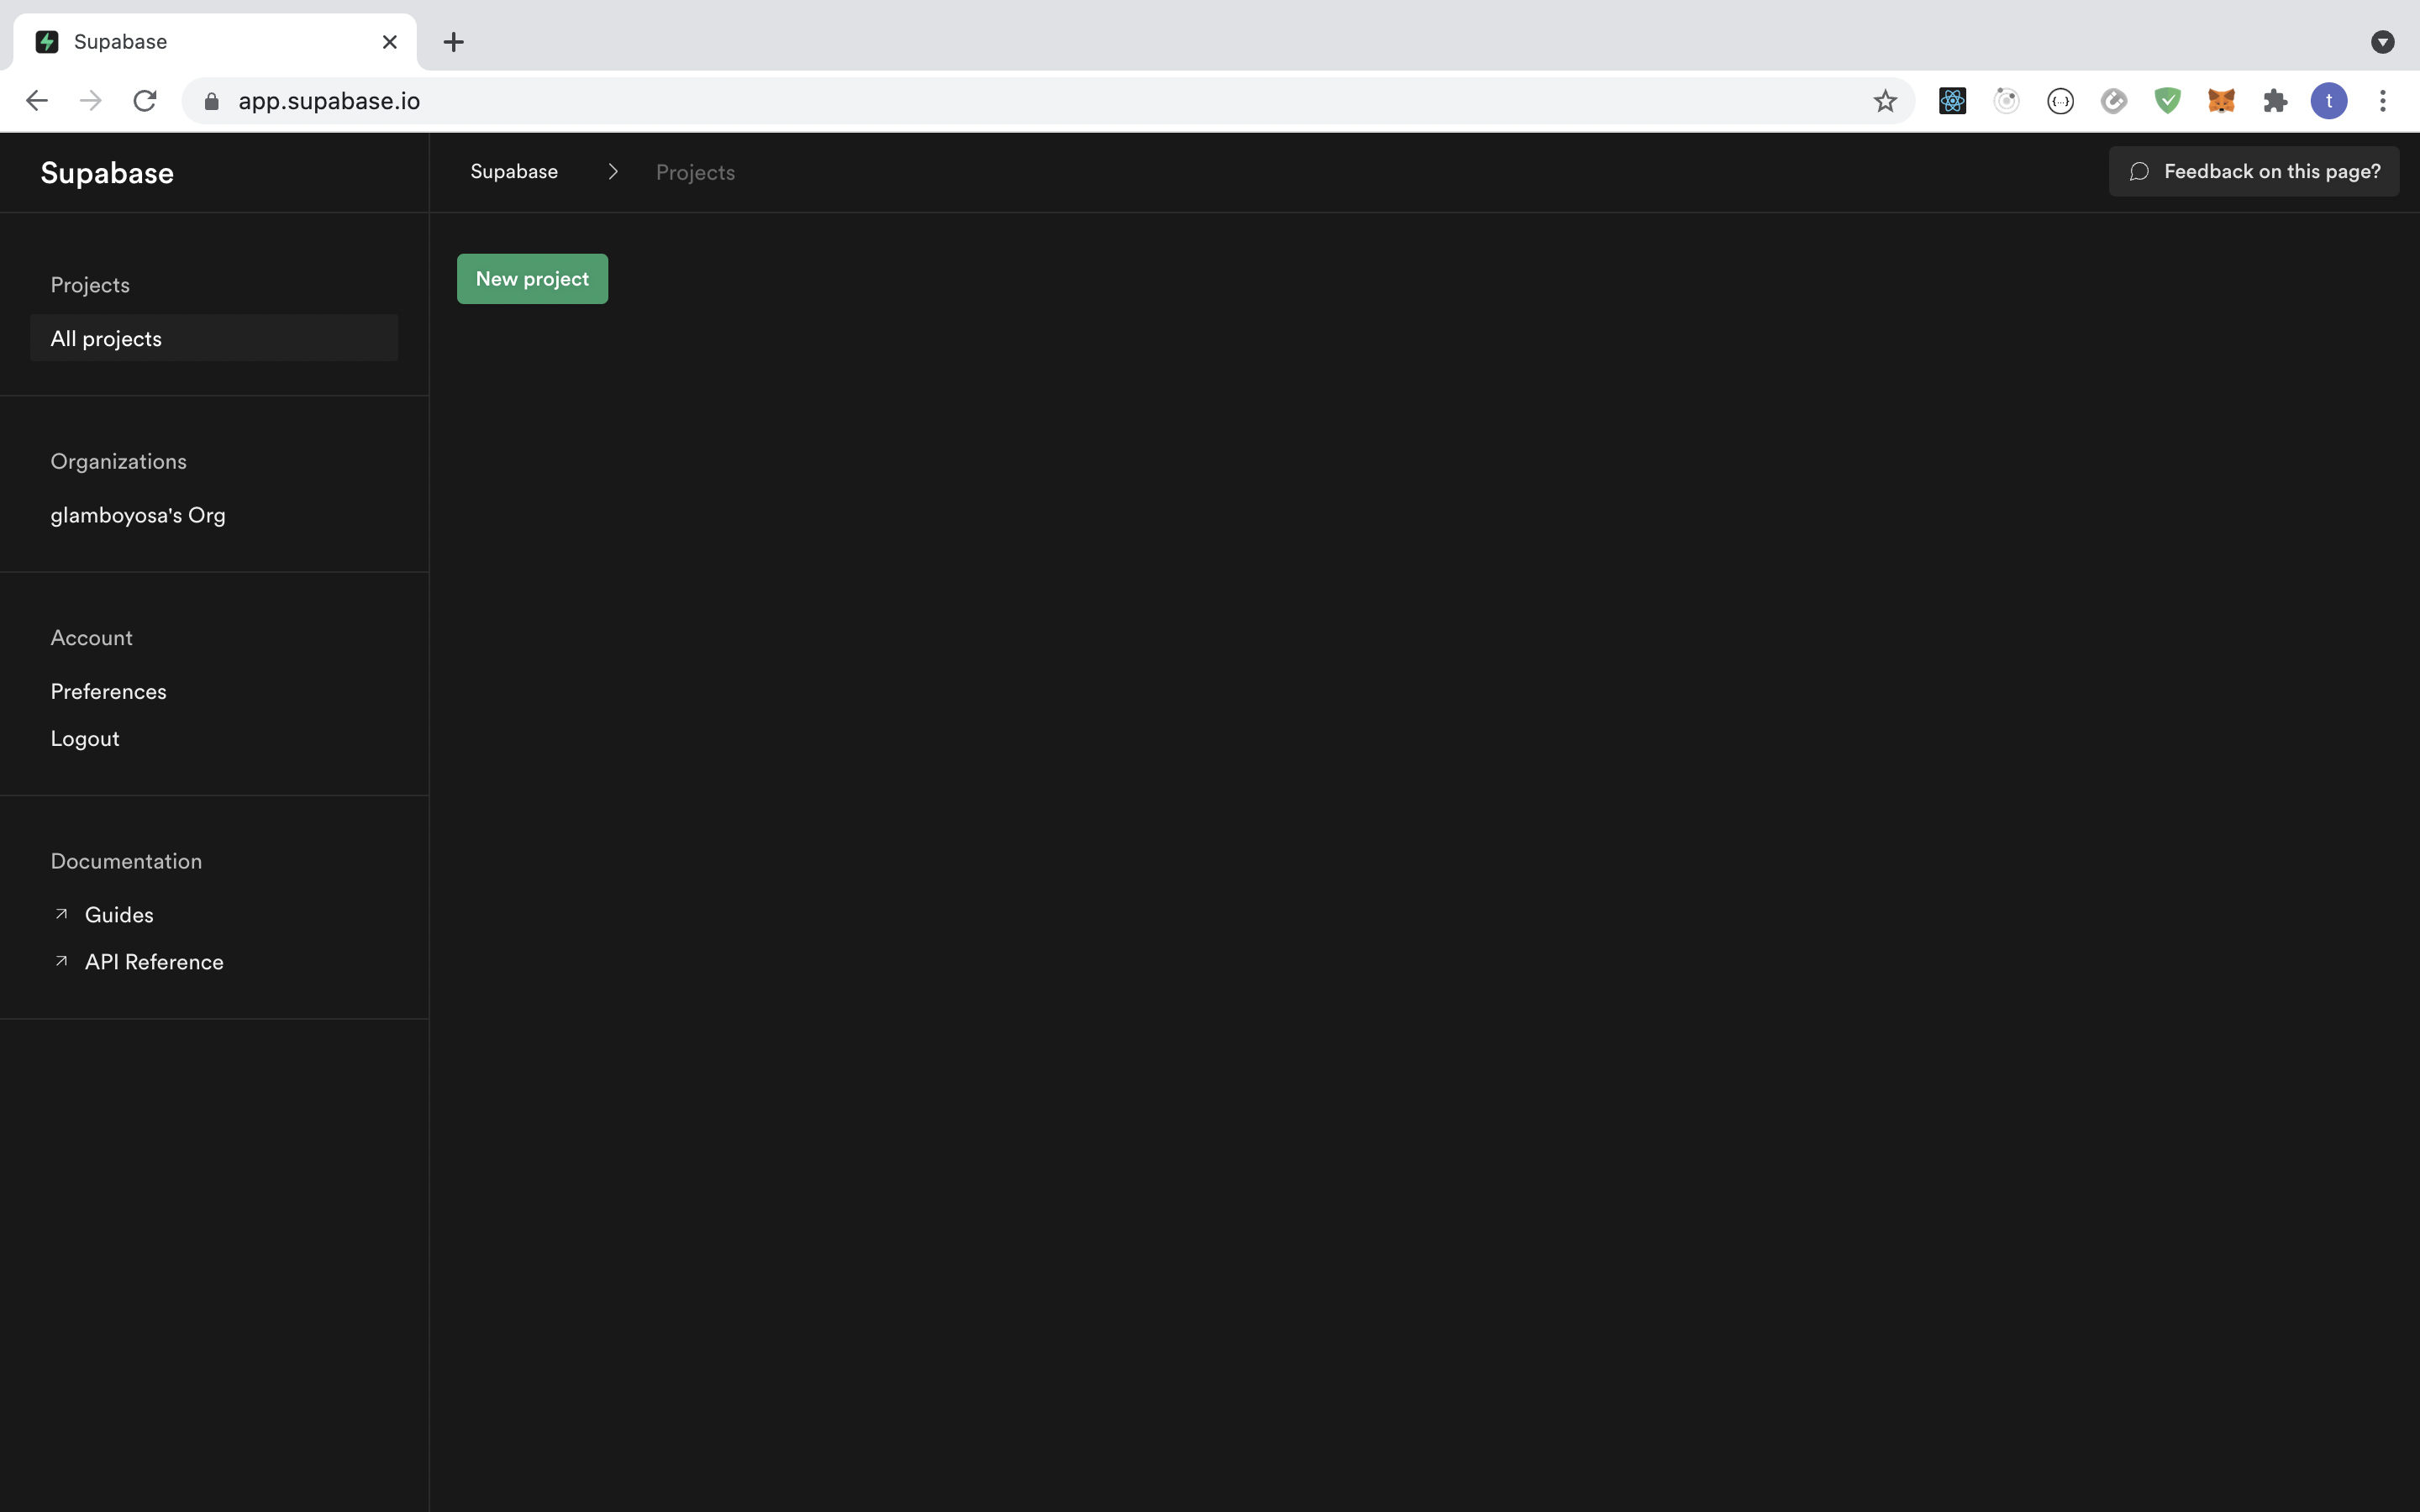
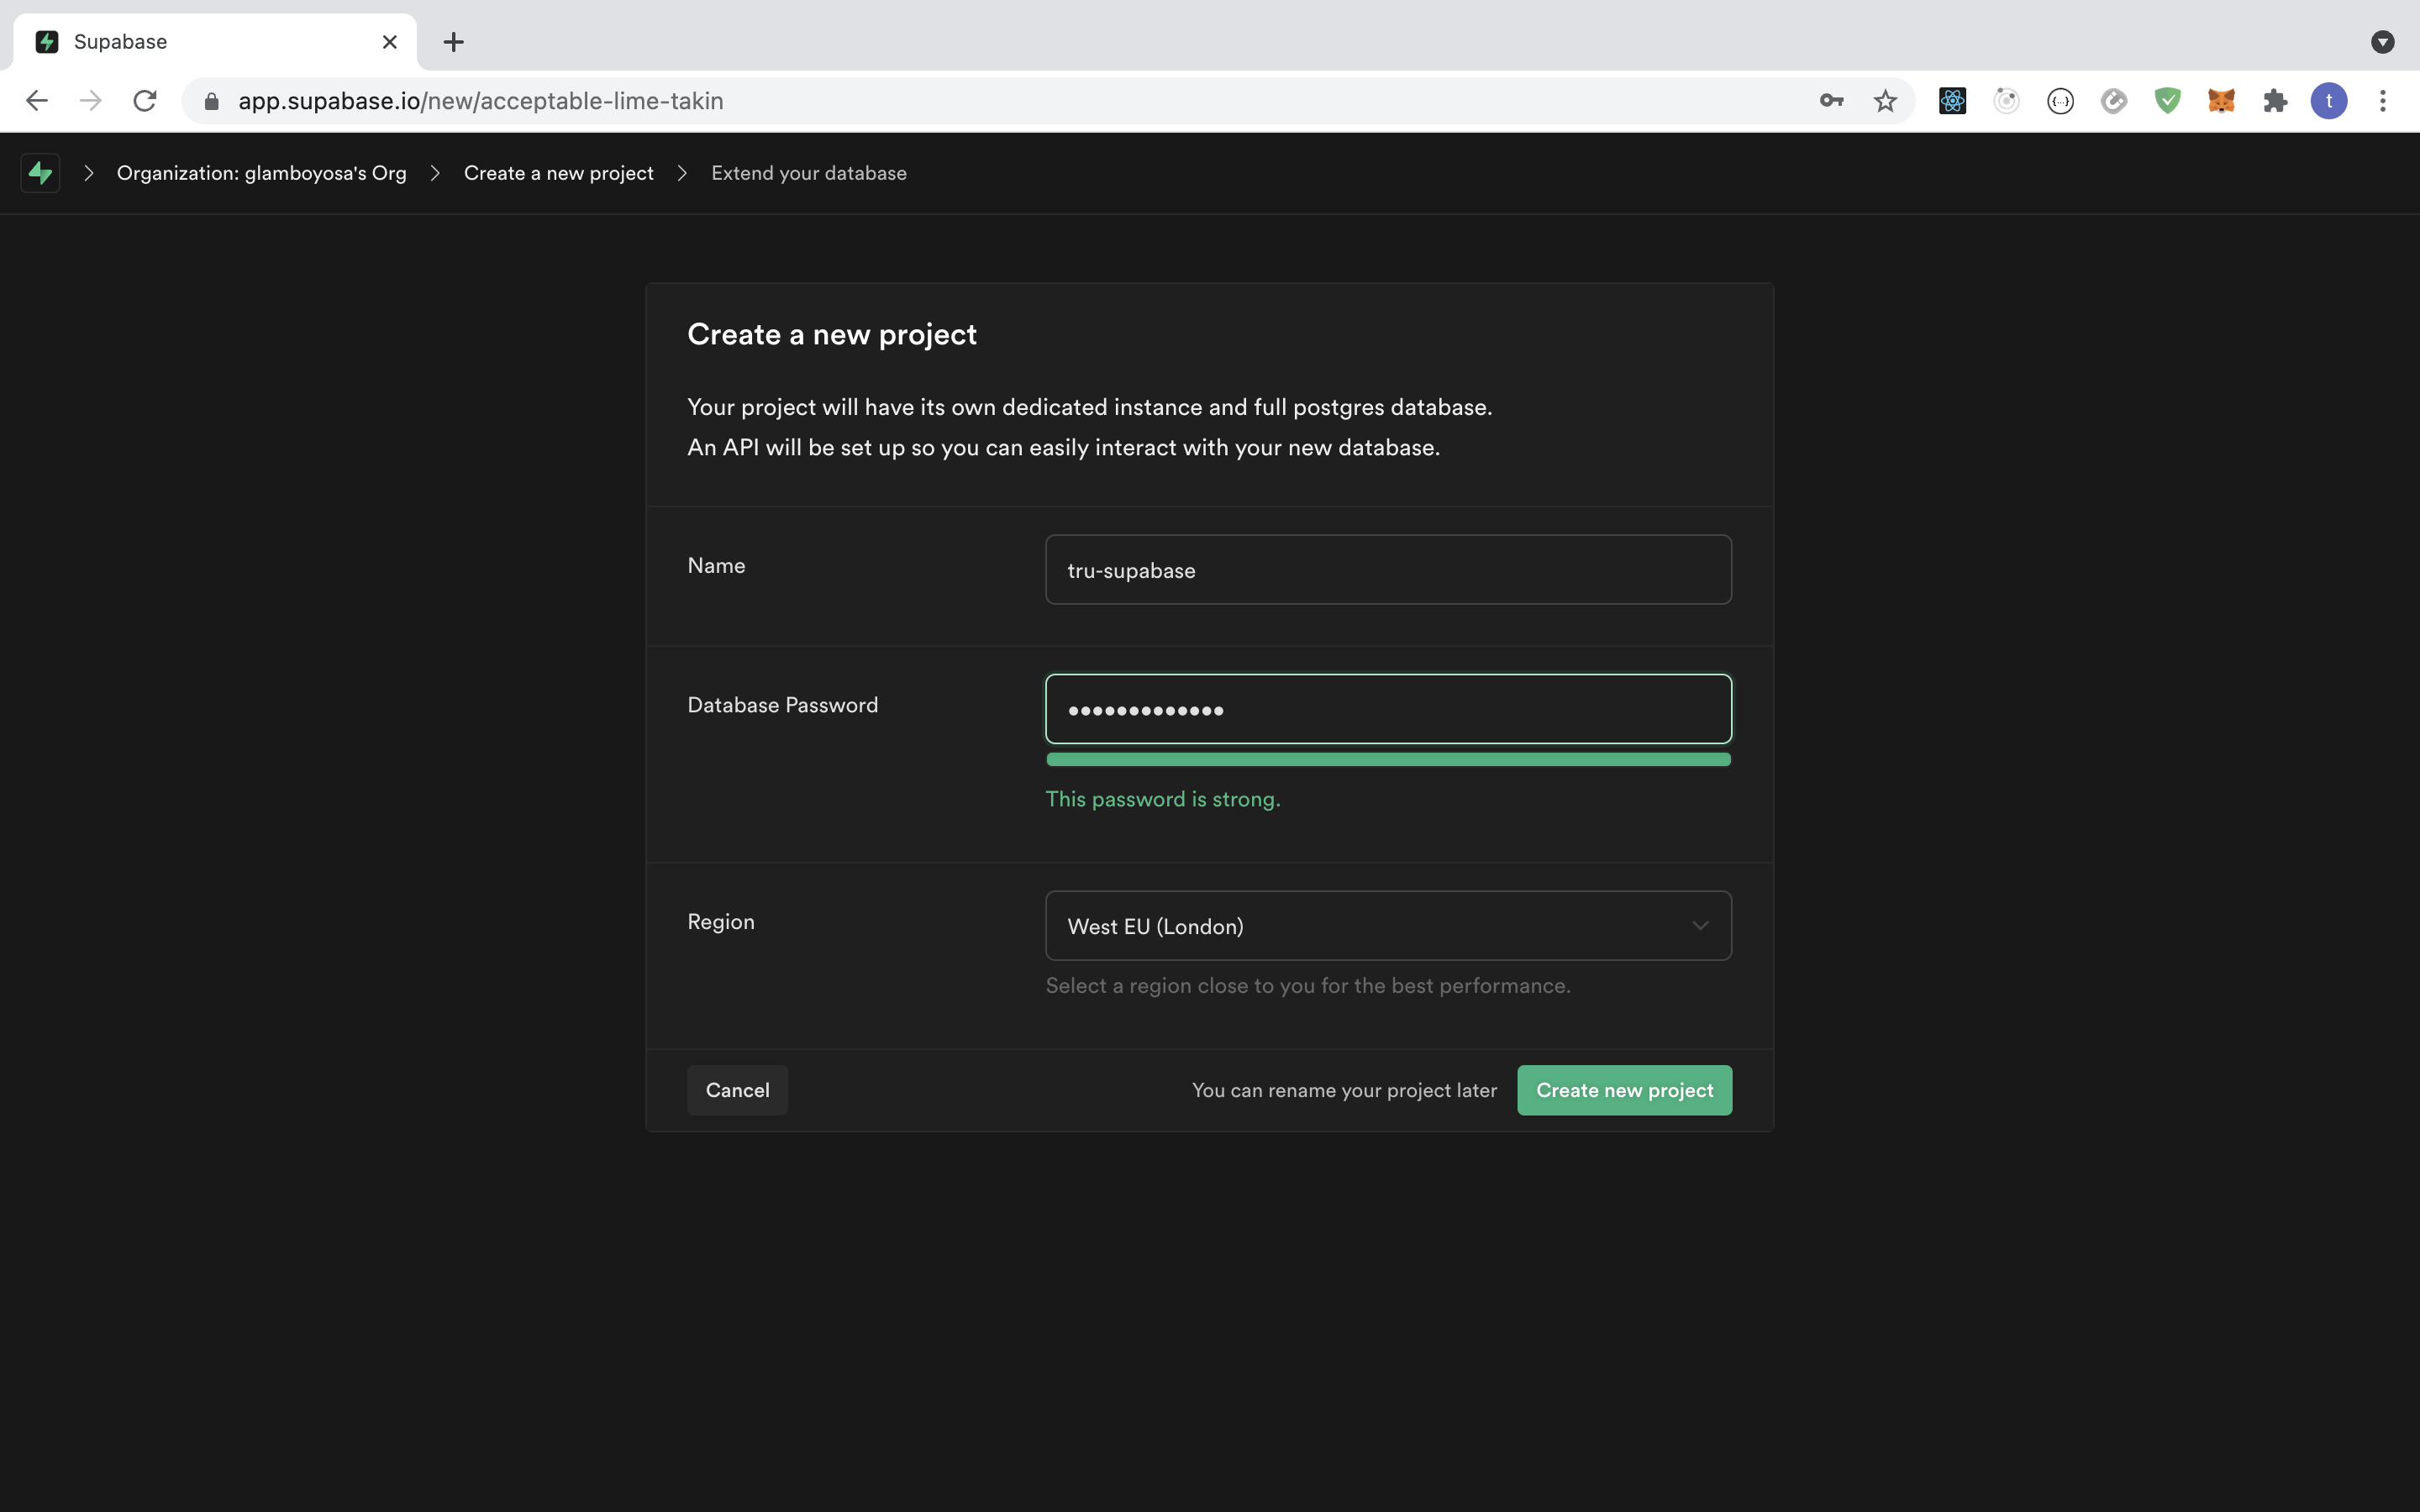
Select ‘new project’, which will take you to a page similar to the one shown below. On this page, enter your desired credentials for this project.
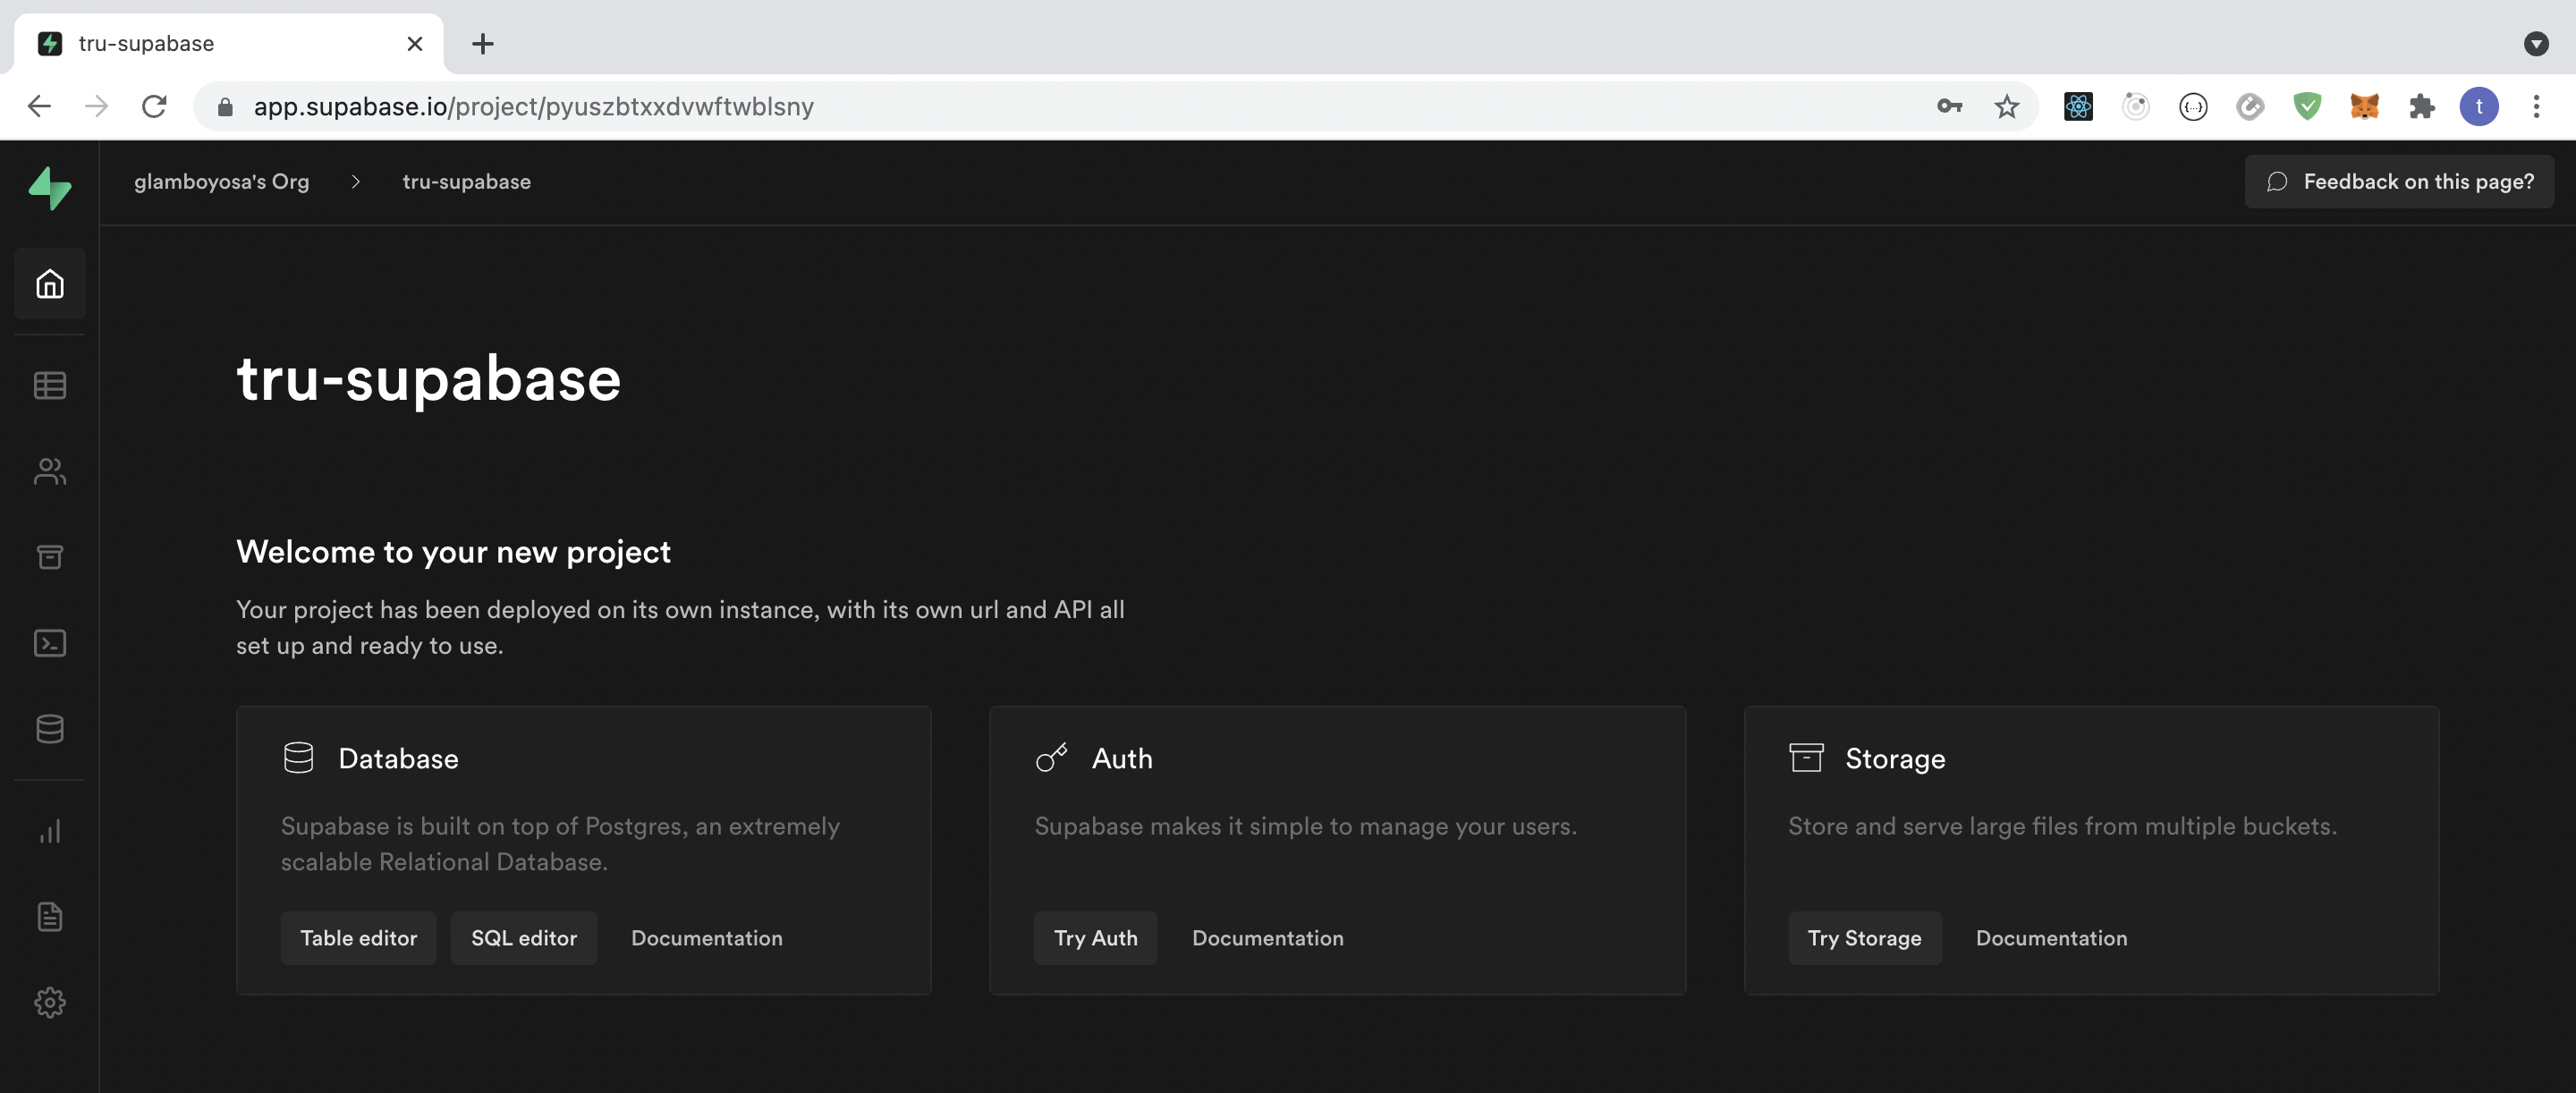
You'll then get redirected to the dashboard, where you can find and click on the icon on the left showing two people or the ‘Try Auth’ button.
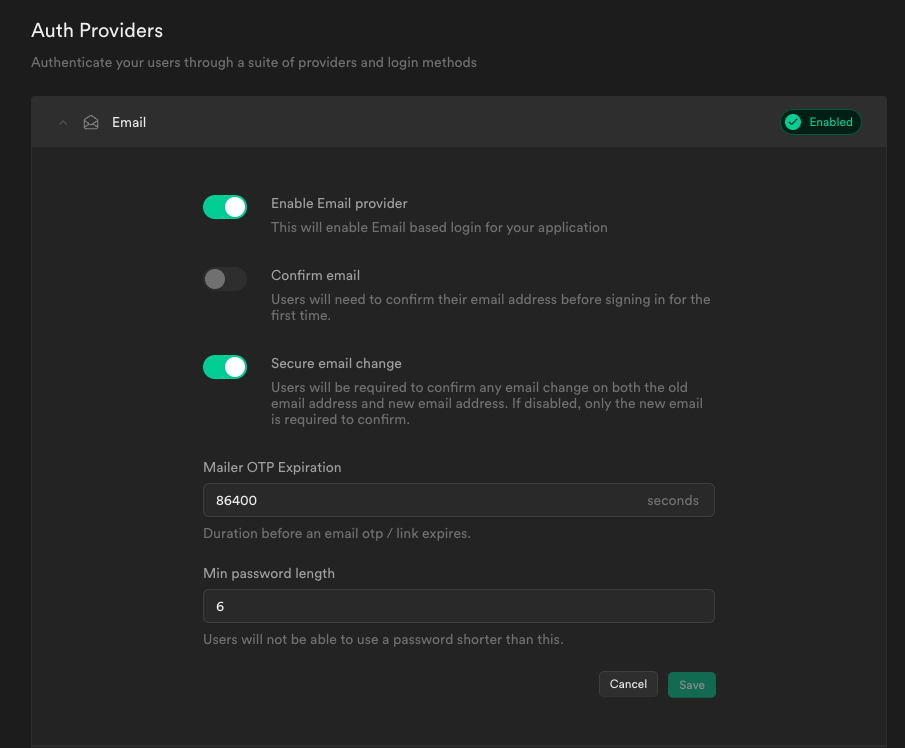
You're then taken to the Project page, click on the Project's Settings link, and navigate to the Auth Providers section of the page. Under this, expand Email and toggle off Confirm Email, as shown below:
Next, in your project, copy the file .env.example to .env:
cp .env.example .env
Update values of mthe following environment variables in this file:
SUPABASE_URLwith theURLvalue found under ‘Settings > API > Config > URL’ in your project dashboard.SUPABASE_PUBLIC_ANONwith theanon publicvalue found under ‘Settings > API > Project API keys > anon public’.
Start the project
You've completed the configuration and setup parts required to begin this tutorial. It's time to get started with the project. First, you need to install the dependencies. In your terminal, make sure you're currently in the project directory, and run the following command:
npm install
To test that everything is working from the start, make sure you have a physical device connected and run one of the following two commands, depending on which device you're testing with:
npm run android#ornpm run ios
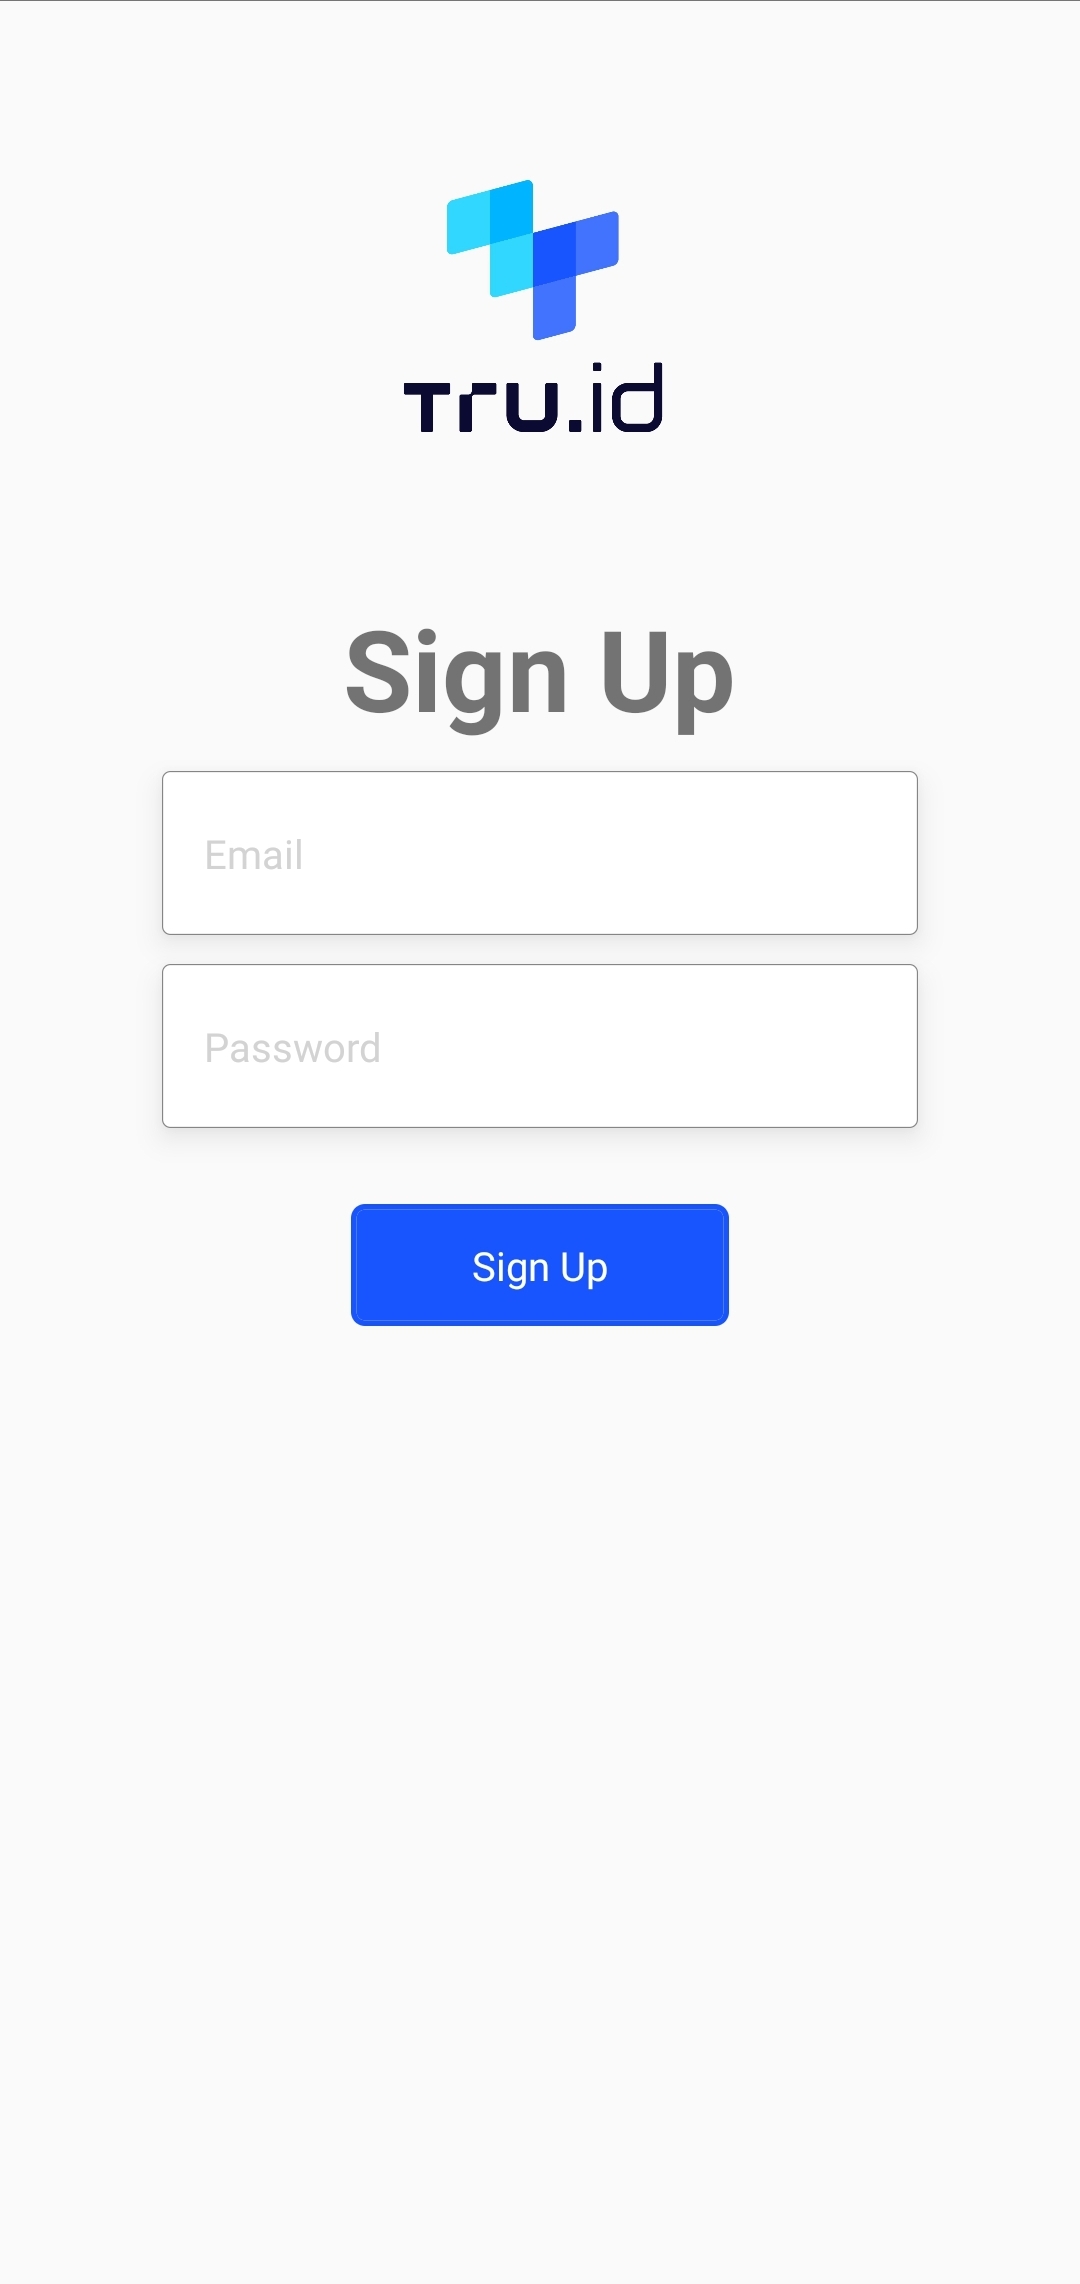
On your phone, you'll see a screen similar to the one displayed below:

Get the user's credentials on the mobile device
The next step is determining how to receive a user's credentials on the mobile device. To store this information, you'll be using state management to the store, and some UI changes are also required for the user to input their information.
Authentication with Supabase Auth will require the user to input an email and their desired password. They'll also need to input their phone_number required to perform the PhoneCheck.
Open src/App.js and locate the line const App = () => {. Below this line, add the following additions for your state management:
const baseURL = '<YOUR_NGROK_URL>'const [email, setEmail] = useState('')const [password, setPassword] = useState('')const [loading, setLoading] = useState(false)const signUpHandler = async () => {}
Update the UI to support these bits of information in your store. Find the line <Text style={styles.heading}>Sign Up</Text>, and below this, add the following two TextInput, ActivityIndicator, and TouchableOpacity components:
<TextInputstyle={styles.textInput}placeholder="Email"placeholderTextColor="#d3d3d3"keyboardType="default"value={email}editable={!loading}onChangeText={(value) => setEmail(value.replace(/\s+/g, ''))}/><TextInputstyle={styles.textInput}placeholder="Password"placeholderTextColor="#d3d3d3"keyboardType="default"secureTextEntryvalue={password}editable={!loading}onChangeText={(value) => setPassword(value.replace(/\s+/g, ''))}/>{loading ? (<ActivityIndicatorstyle={styles.spinner}size="large"color="#00ff00"/>) : (<TouchableOpacity onPress={signUpHandler} style={styles.button}><Text style={styles.buttonText}>Sign Up</Text></TouchableOpacity>)}
If you reload the app on your device, the screen will update to show what's displayed below:
Create reusable error handlers
The application needs two methods for handling different results:
- The
errorHandlerfunction requires two parameters, thetitleand themessageprop. It then renders anAlertto the screen using those props. - The
successHandlerrenders anAlert.
Above the return in src/App.js, add the following two handler functions:
const errorHandler = ({ title, message }) => {return Alert.alert(title, message, [{text: 'Close',onPress: () => console.log('Alert closed'),},])}const successHandler = () => {Alert.alert('Login Successful', '✅', [{text: 'Close',onPress: () => console.log('Alert closed'),},])}
Currently, these two handlers don't get called in your application, but they are needed later in the tutorial.
Handle user signup
A third handler function is needed to handle the user's signup request. Superbase will be used to authenticate the user with their email and password. Find the line const signUpHandler = async () => {} and replace it with:
const signUpHandler = async () => {const { session, error } = await supabase.auth.signUp({email,password,})if (!error && session) {setLoading(false)successHandler()return} else {console.log(JSON.stringify(error))setLoading(false)errorHandler({ title: 'Something went wrong.', message: error.message })return}}
The user signs in by inputting the form's email and password fields. The session and error responses are returned to determine the outcome of the request.
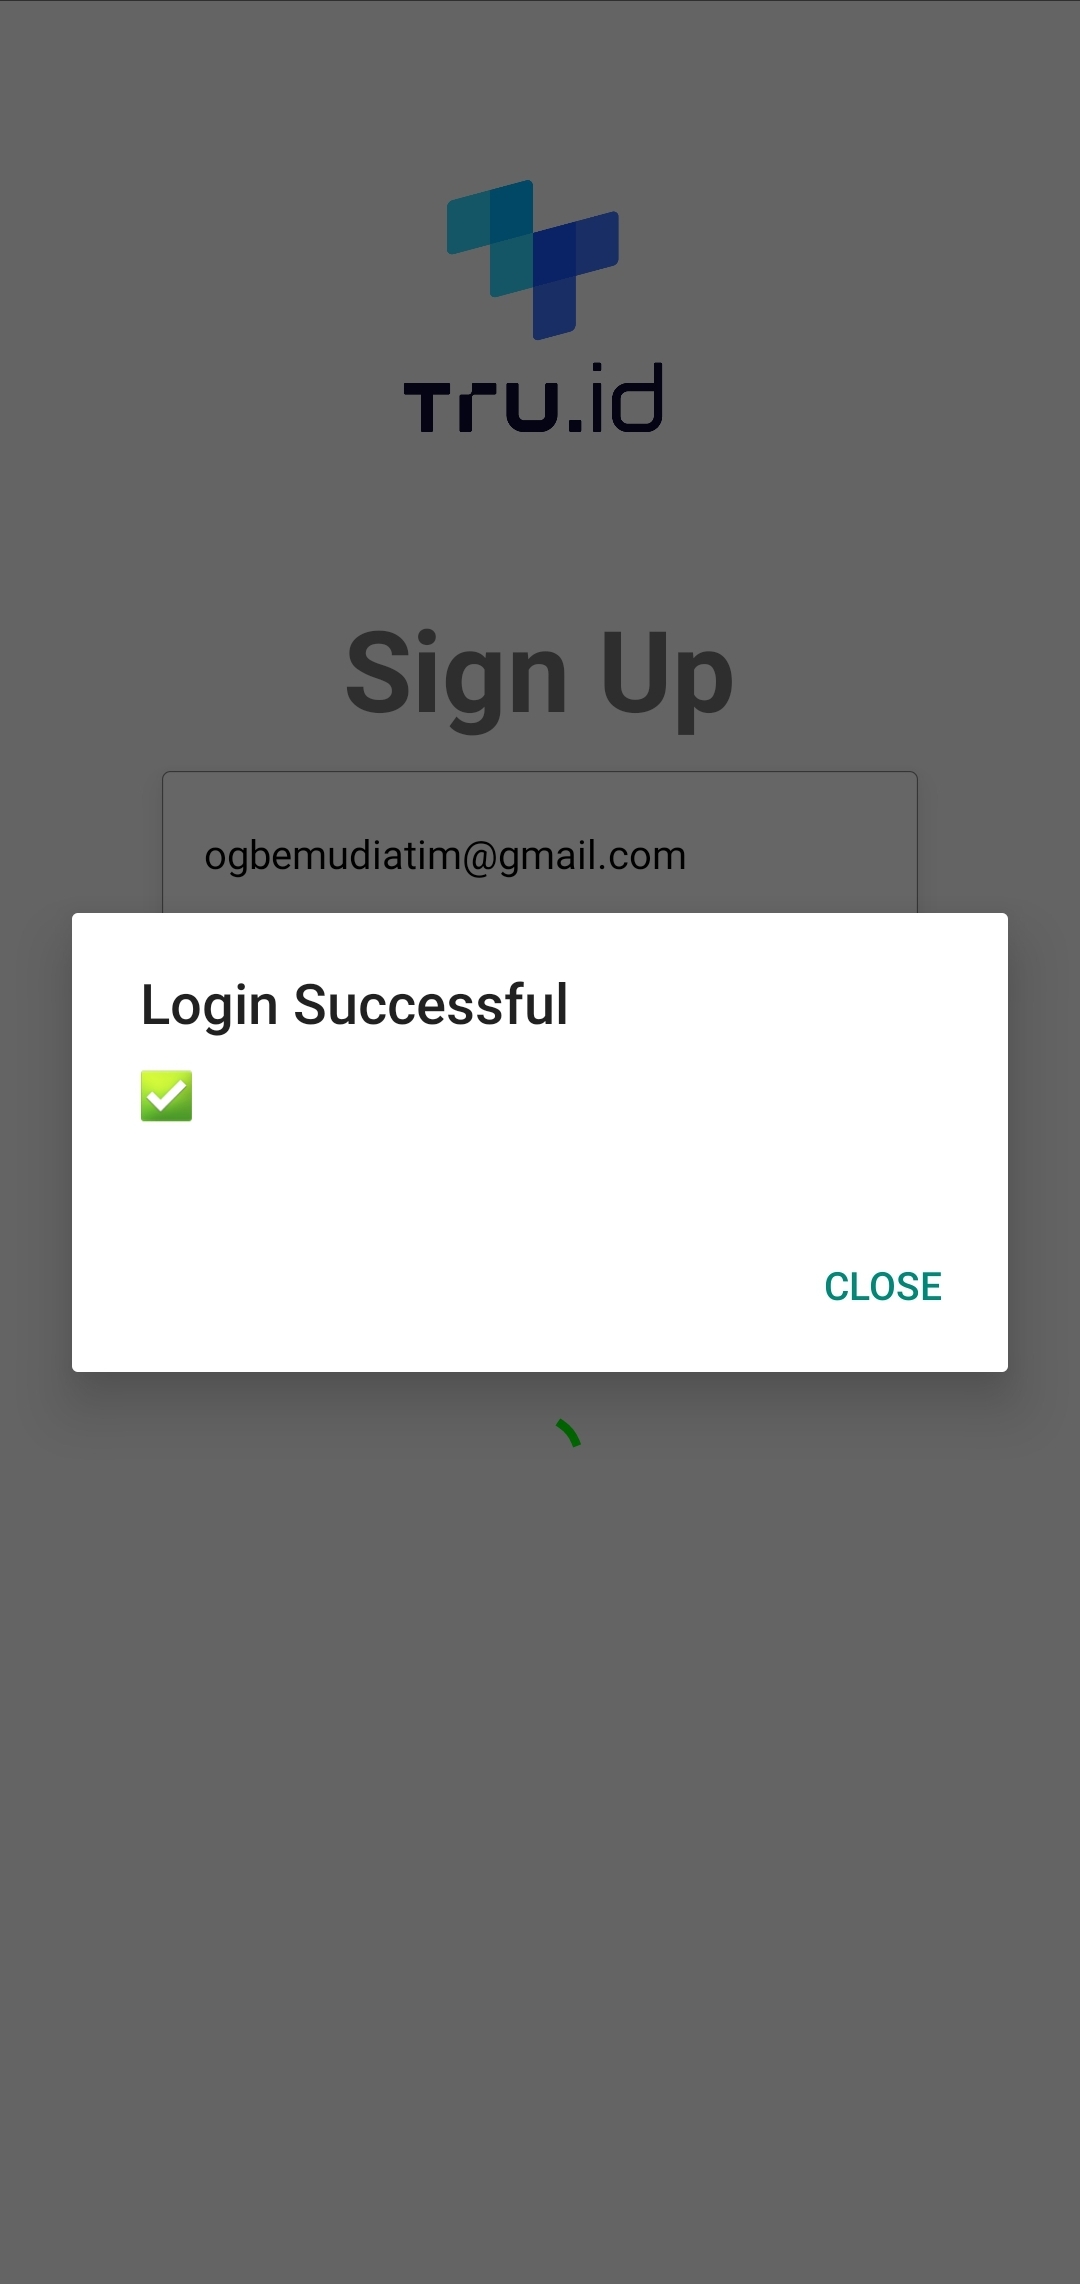
A check is made to see if there is an error and a session value returned to the signUp request. If there is no value in the error variable, the loading icon is no longer needed, and the code calls the successHandler function. Otherwise, the application calls the errorHandler.
A successful registration is shown in the image below:
Adding SIM card-based authentication to our existing workflow
So far, you've successfully implemented a workflow to handle authentication requests using Supabase Auth. The next step is to add SIM swap detection to the sign-up flow using the IDlayr PhoneCheck API.
First, you need to define the phoneNumber state and update the UI responsible for receiving the user's phone number. Find the line that defines the password state, and below this, add the definition for the phoneNumber state as shown below:
const App = () => {...const [phoneNumber, setPhoneNumber] = useState('')...}
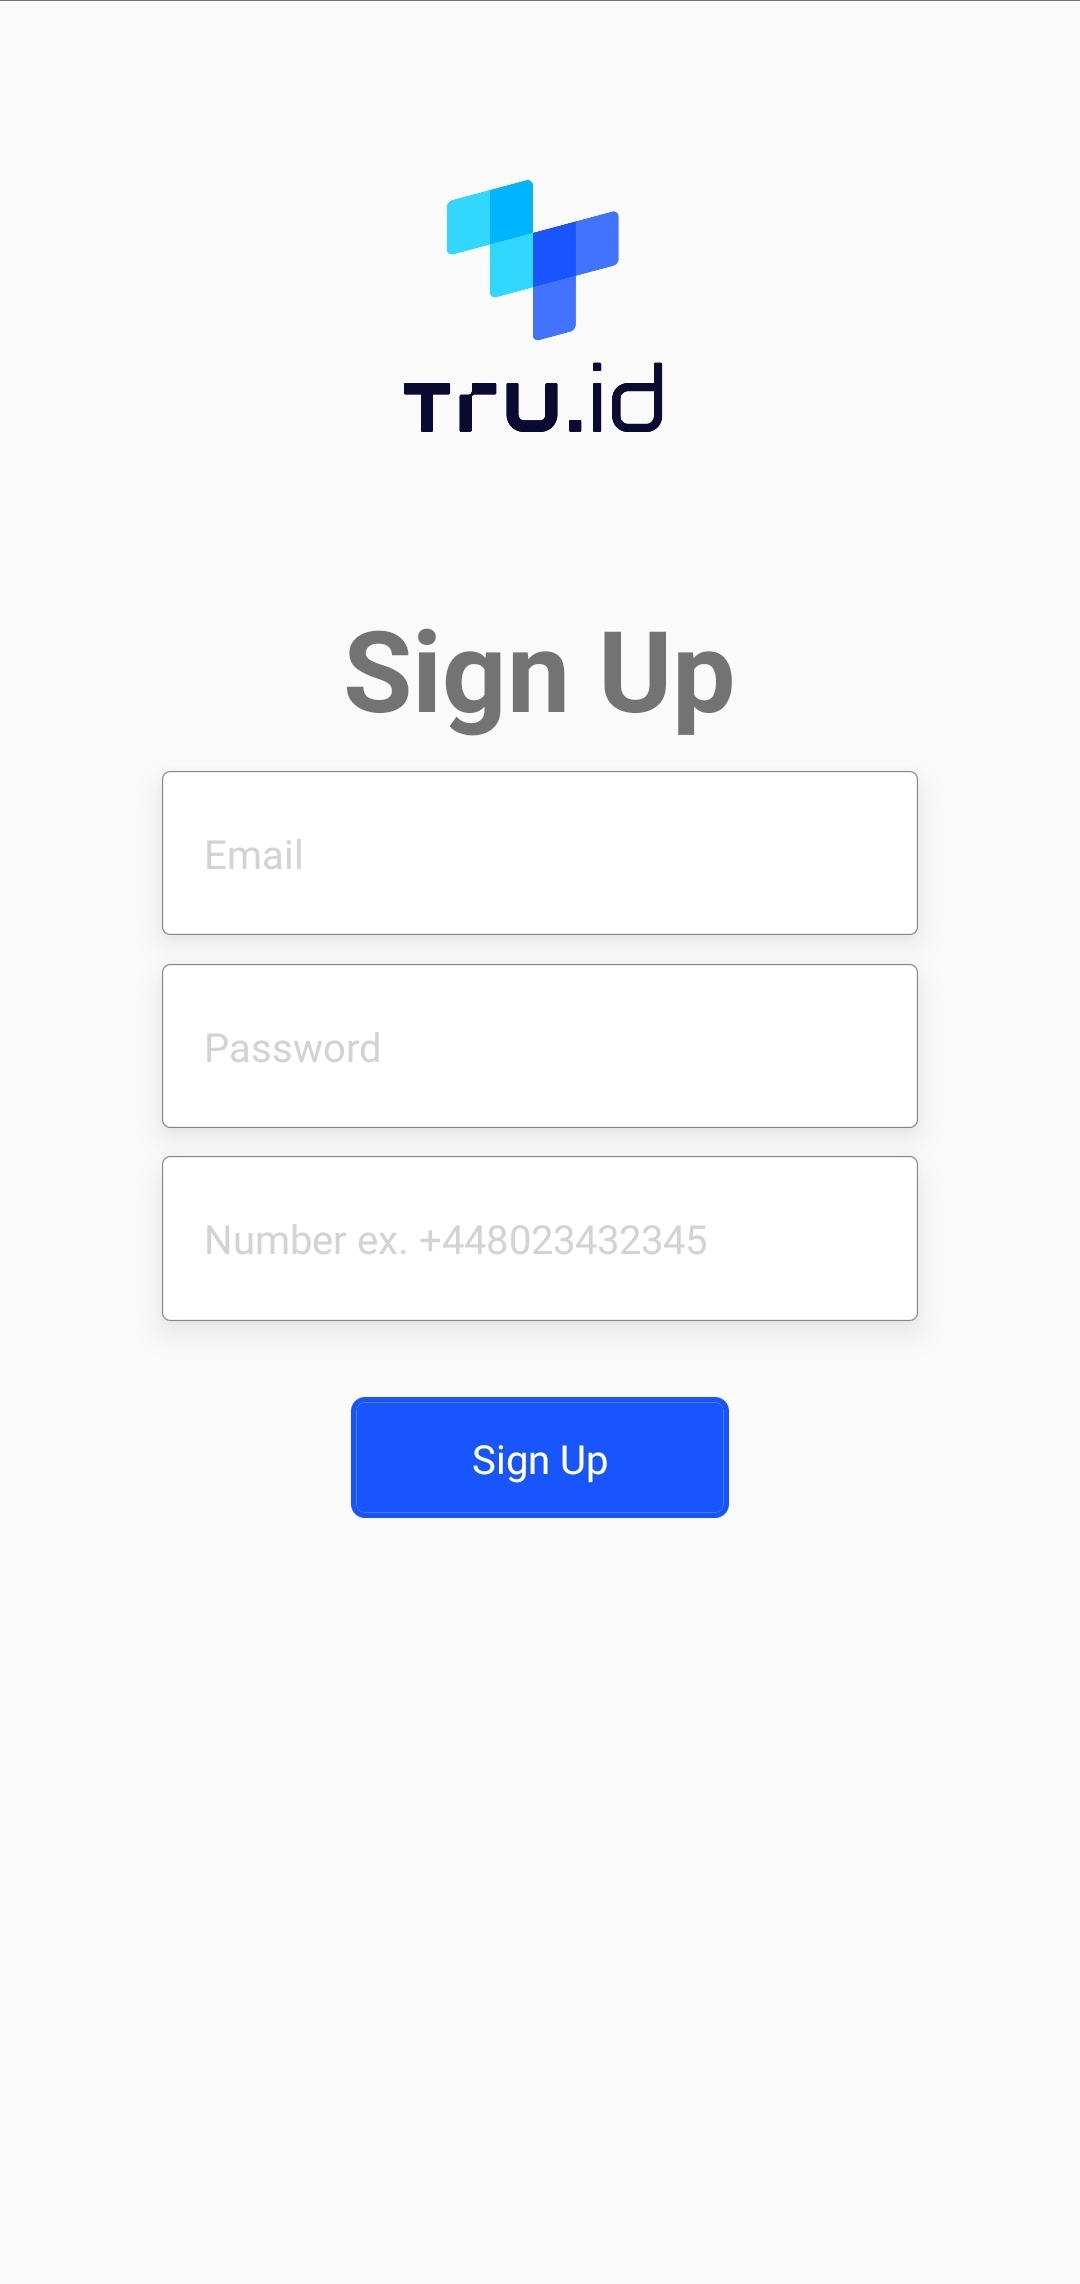
In the return(), underneath the TextInput for the password, add a new component to take the user's phoneNumber. This component is shown below:
<TextInputstyle={styles.textInput}placeholder="Number ex. +448023432345"placeholderTextColor="#d3d3d3"keyboardType="phone-pad"value={phoneNumber}editable={!loading}onChangeText={(value) => setPhoneNumber(value.replace(/\s+/g, ''))}/>
Refreshing the app on the device will present you with an updated screen similar to the one shown below:
An API request to IDlayr's Reachability API confirms whether the user's mobile network operator supports PhoneCheck or not. This request is made easier with the use of the tru.ID (IDlayr) React Native SDK, which you'll need to install with the following command:
npm install @tru_id/tru-sdk-react-native
Add the import of the tru.ID (IDlayr) React Native SDK to the top of src/App.js:
import TruSdkReactNative from '@tru_id/tru-sdk-react-native'
Now, find your signUpHandler and replace the contents with what's shown below:
const signUpHandler = async () => {setLoading(true)// check if we have coverage using the `isReachable` functiontry {const reachabilityResponse = await TruSdkReactNative.openWithDataCellular('https://{DATA_RESIDENCY}.api.idlayr.com/public/coverage/v0.1/device_ip',)console.log(reachabilityResponse)let isMNOSupported = falseif ('error' in reachabilityResponse) {errorHandler({title: 'Something went wrong.',message: 'MNO not supported',})setLoading(false)return} else if ('http_status' in reachabilityResponse) {let httpStatus = reachabilityResponse.http_statusif (httpStatus === 200 &&reachabilityResponse.response_body !== undefined) {let body = reachabilityResponse.response_bodyconsole.log('product => ' + JSON.stringify(body.products[0]))isMNOSupported = true} else if (httpStatus === 400 ||httpStatus === 412 ||reachabilityResponse.response_body !== undefined) {errorHandler({title: 'Something went wrong.',message: 'MNO not supported',})setLoading(false)return}}let isPhoneCheckSupported = falseif (isMNOSupported === true) {reachabilityResponse.response_body.products.forEach((product) => {console.log('supported products are', product)if (product.product_name === 'Phone Check') {isPhoneCheckSupported = true}})}// If the PhoneCheck API is supported, proceed with PhoneCheck verification and Supabase Authif (isPhoneCheckSupported) {// proceed with Supabase Authconst { session, error } = await supabase.auth.signUp({email,password,})if (!error && session) {setLoading(false)successHandler()return} else {console.log(JSON.stringify(error))setLoading(false)errorHandler({ title: 'Something went wrong.', message: error.message })return}} else {const { session, error } = await supabase.auth.signUp({email,password,})if (!error && session) {setLoading(false)successHandler()return} else {setLoading(false)errorHandler({ title: 'Something went wrong.', message: error.message })return}}} catch (e) {setLoading(false)errorHandler({ title: 'Something went wrong', message: e.message })}}
The code above calls the Reachability API, which returns the network_id, network_name, country_code, and products. The products array is an optional array supported by the MNO. There is also an error object which contains any potential errors.
Next, the application creates the variable isPhoneCheckSupported. If the error status is not a 412, the application loops through the products and checks whether the product_name equals Phone Check; if it does, then isPhoneCheckSupported is set to true.
If the isPhoneCheckSupported variable is false by the end of the loop, the PhoneCheck is not supported. If isPhoneCheckSupported is false, it calls the errorHandler. Otherwise, the PhoneCheck is possible.
Now the application needs the functionality to create the PhoneCheck, so below successHandler, add the following createPhoneCheck function:
const createPhoneCheck = async (phoneNumber) => {const body = { phone_number: phoneNumber }console.log('IDlayr: Creating PhoneCheck for', body)const response = await fetch(`${baseURL}/v0.2/phone-check`, {body: JSON.stringify(body),method: 'POST',headers: {'Content-Type': 'application/json',},})const json = await response.json()return json}
Now, inside the signUpHandler function, find the line if (isPhoneCheckSupported) {, and below this, add the following trigger to create a PhoneCheck:
const phoneCheckResponse = await createPhoneCheck(phoneNumber)const checkResponse = await TruSdkReactNative.openWithDataCellular(phoneCheckResponse.check_url,)
The variable phoneCheckResponse returns a check_id and check_url values.
With the check_url opened, you now need to complete the PhoneCheck flow, by making a PATCH request to IDlayr's PhoneCheck API. This request will return the result of the PhoneCheck. To create a function for data fetching, beneath the function createPhoneCheck, add the following:
const completePhoneCheck = async (checkId, code) => {const response = await fetch(`${baseURL}/v0.2/phone-check/exchange-code`, {method: 'POST',body: JSON.stringify({check_id: checkId,code: code,}),headers: {'Content-Type': 'application/json',},})const json = await response.json()return json}
Now in the signUpHandler find the line where you openWithDataCellular on your check_url. Below this line, add the call to the newly created method:
const phoneCheckResult = await completePhoneCheck(checkResponse.response_body.check_id,checkResponse.response_body.code,)// if we do not have a match, do not proceed with Supabase authif (!phoneCheckResult.match) {setLoading(false)errorHandler({title: 'Something Went Wrong',message: 'PhoneCheck verification unsuccessful.',})return}
The constant PhoneCheckResult returns a match value. If there is no match, the app renders the errorHandler and stops execution – it does not need to proceed with Supabase Auth.
If there is not a match, then the application will be displayed as shown in the image below:
Wrapping up
That's it! With everything in place, you now have a seamless sign-up onboarding flow with minimal UX friction, resulting in reduced user drop-offs.

